Background
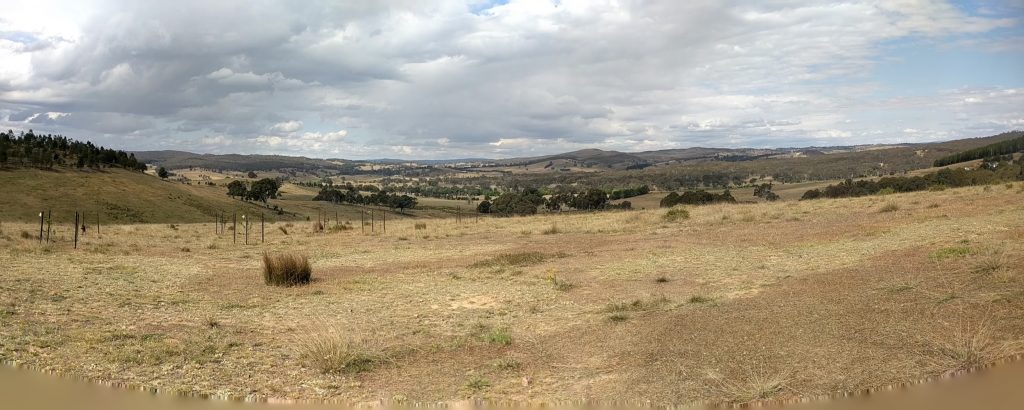
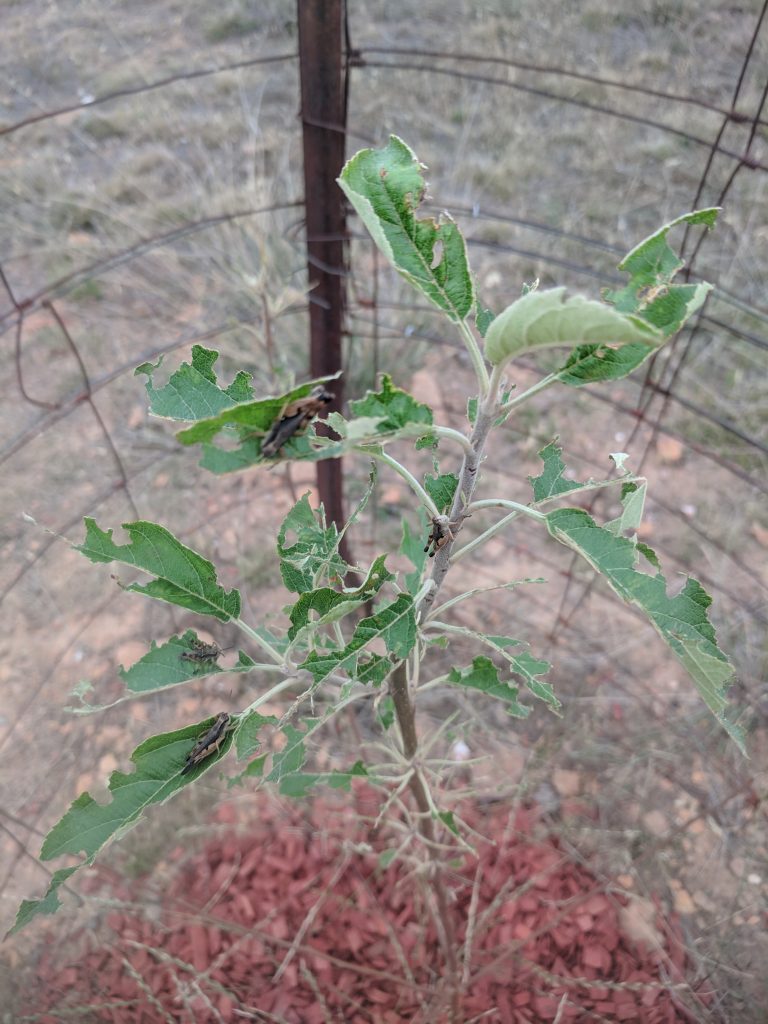
It’s been an interesting start to summer at the farm with plenty of rain coming down at the start of December followed by a dry spell with little meaningful rain falling over the past few weeks. The last few days have almost topped 40 degrees Celsius and with the orchard trees already struggling to come back from the previous grasshopper situation, we have been ensuring that the recovering trees have plenty of water to drink.
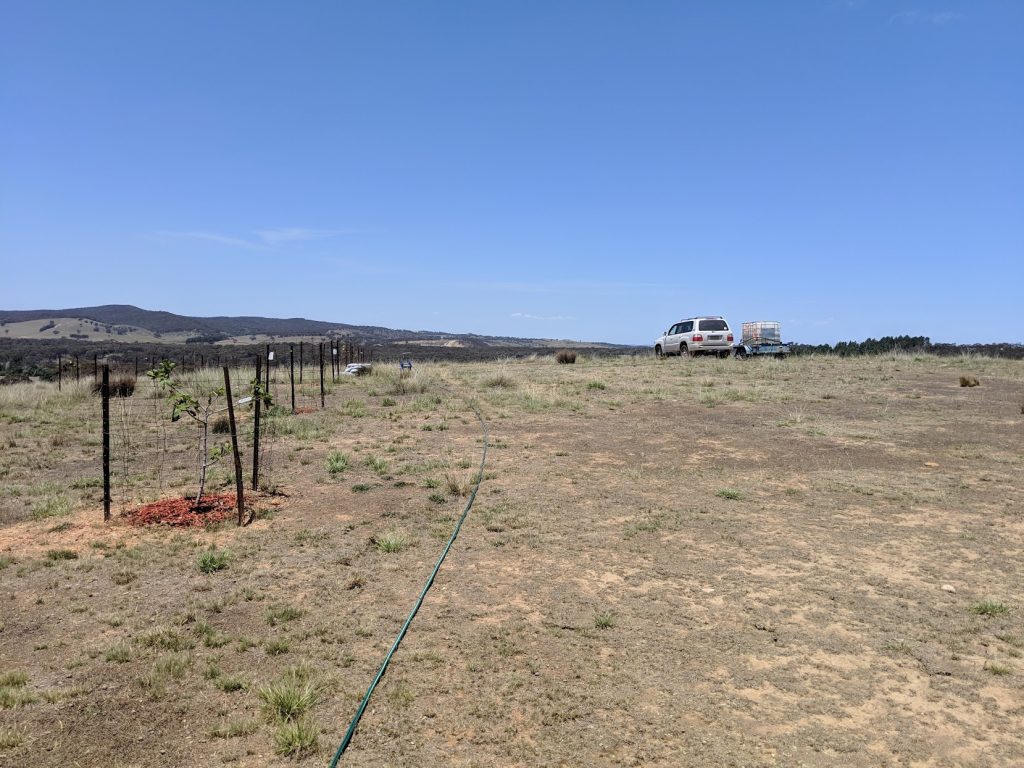
In previous months, when the temperatures weren’t as intense or when we had more regular rainfall, we had been managing the watering with a simple 25 litre water container and a bucket and spending time filling it with water from our main dam. With the 17-ish orchard trees that we are currently trying to grow on the property, we found that we could do two runs filling the containers and then transporting the water in the back of the car up to the trees in need, which was an OK task to complete but was quite time consuming and required much more driving than I was happy with.
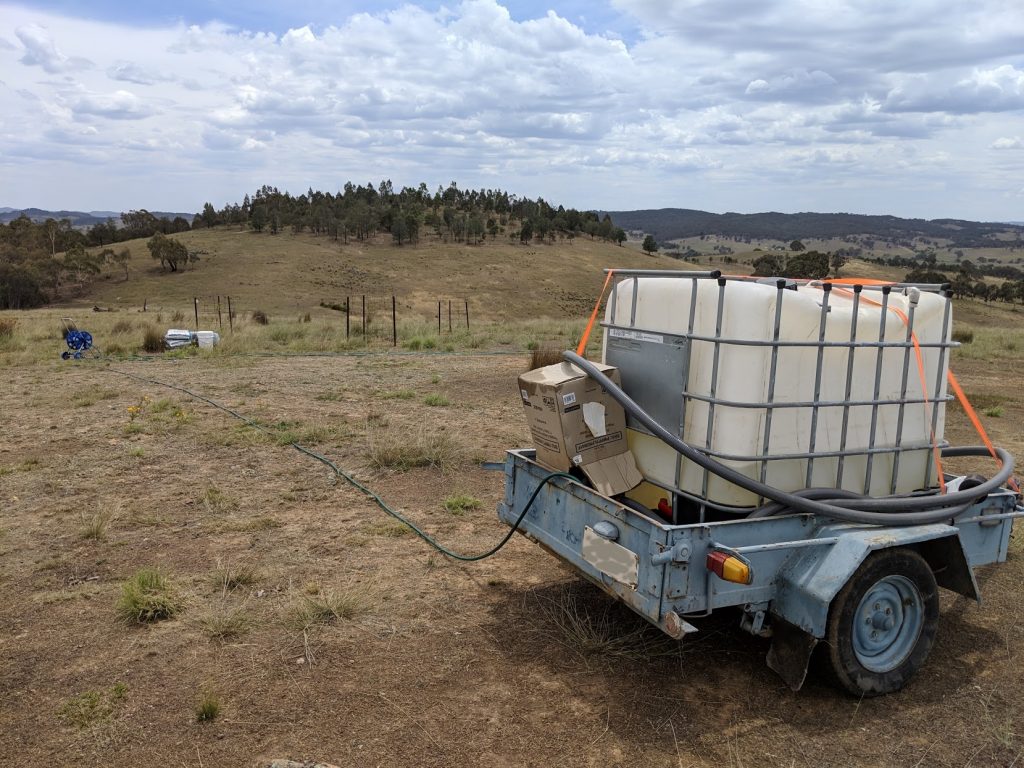
As such, I decided to put together a simple water trailer that I could use to haul water in bulk up to the orchard where we could simply plug in some hoses and water in a more traditional manner. I also figured that having some sort of portable water system could be beneficial in the case of fire, so I am sure that once the orchard is more permanently accounted for the system will have some reuse.
The Build
My goal was to build this system on a budget which means that several components are used. My build consisted of:
- A used trailer that I was able to pick up on Gumtree at a cost of $100. The trailer does have a few faults and was unregistered at the time of purchase, which is fine as I don’t expect to be driving it on the road at any time and had already wanted something to move some firewood around in the cooler months.
- An IBC water tank that I also picked up on Gumtree at a cost of $100. This seemed to be the cheapest price for a clean IBC within the Canberra region, with this tank previously holding fish.
- A 1″ High Flow Petrol Water Pump which can be used to both fill the tank from the dam, as well as pump out water from the tank as a firefighting tool. I picked up a cheap Warton pump from edisons.com.au and, to date, this has actually been performing surprisingly well. I’ve bought some other items from the site that I am not that happy with, but I can’t fault this pump yet. Cost was $205.
- A 1000L IBC water tank Kingtainer adapter. Getting the right connection for the tank to the hose was actually a bigger saga than I had originally thought it would be as I had assumed that all IBC tank fittings were the same. The Kingtainer adapter which fits this tank was actually the third fitting that I ordered in.. but thankfully it does a good job for what we need. Total cost was around $45 by the time I dropped the container down to a regular hose fitting.
- 10m x 1.5″ 38mm ID Suction Hose For Transfer High Pressure Fire Water Pump. Another slightly smaller saga in that I had assumed that 1” hose should fit a 1” pump, which it didn’t. The second hose was $80.
- Ratchet tie down straps x 2. Bought a couple from the local hardware shop for $6.
- Jockey wheel. The trailer didn’t have one and I decided that once the tank is full of water it would be a pretty big pain to attempt balancing with cinder blocks or the like. Ended up costing about $35 by the time hardware was included to attach it to the trailer.
- A couple of Garden Hoses. I think I paid about$20 total for the 45m of hose that I have.
Grand Total: $585
Outcome
Having used the trailer now for a couple of weeks, I can definitely say that it is a time and labour saver and a great addition to our kit. Where we were previously carting up water 30L at a time, we can now “comfortably” take up around 600L in one go, with the trailer seeming to handle this OK without getting overloaded.
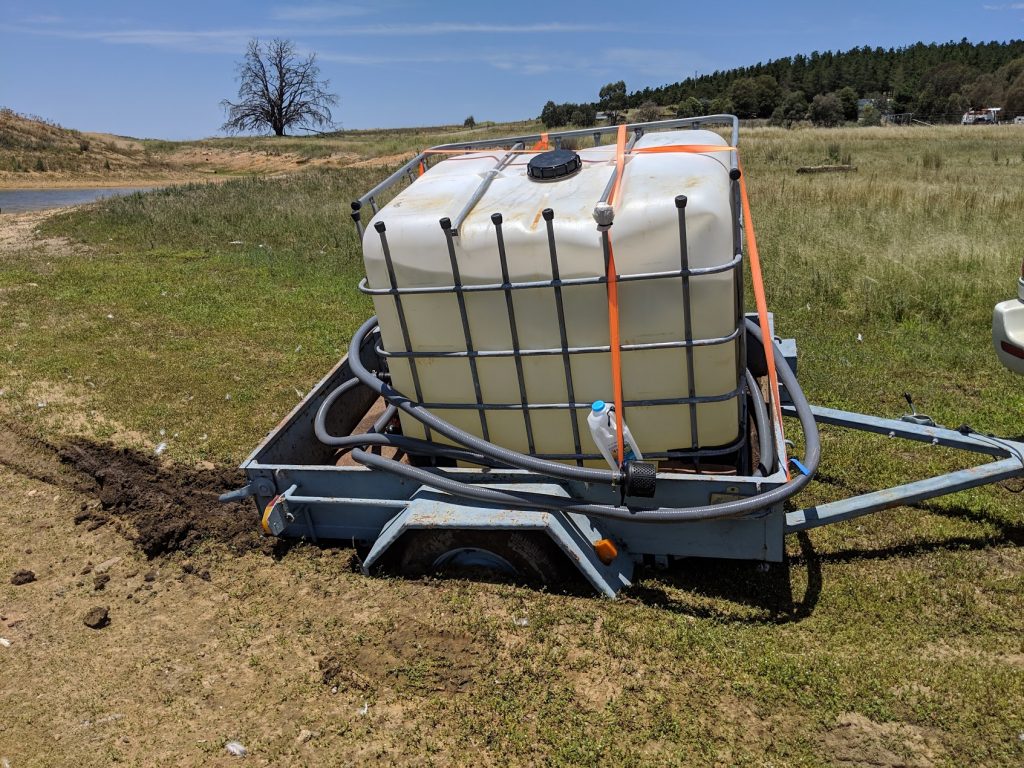
However, I did have an interesting moment a couple of days ago when I decided to refill the trailer a little too close to the dam, as shown in the below picture… Fun times!
That’s all for this update. Merry Christmas and Happy New Year to all.
James