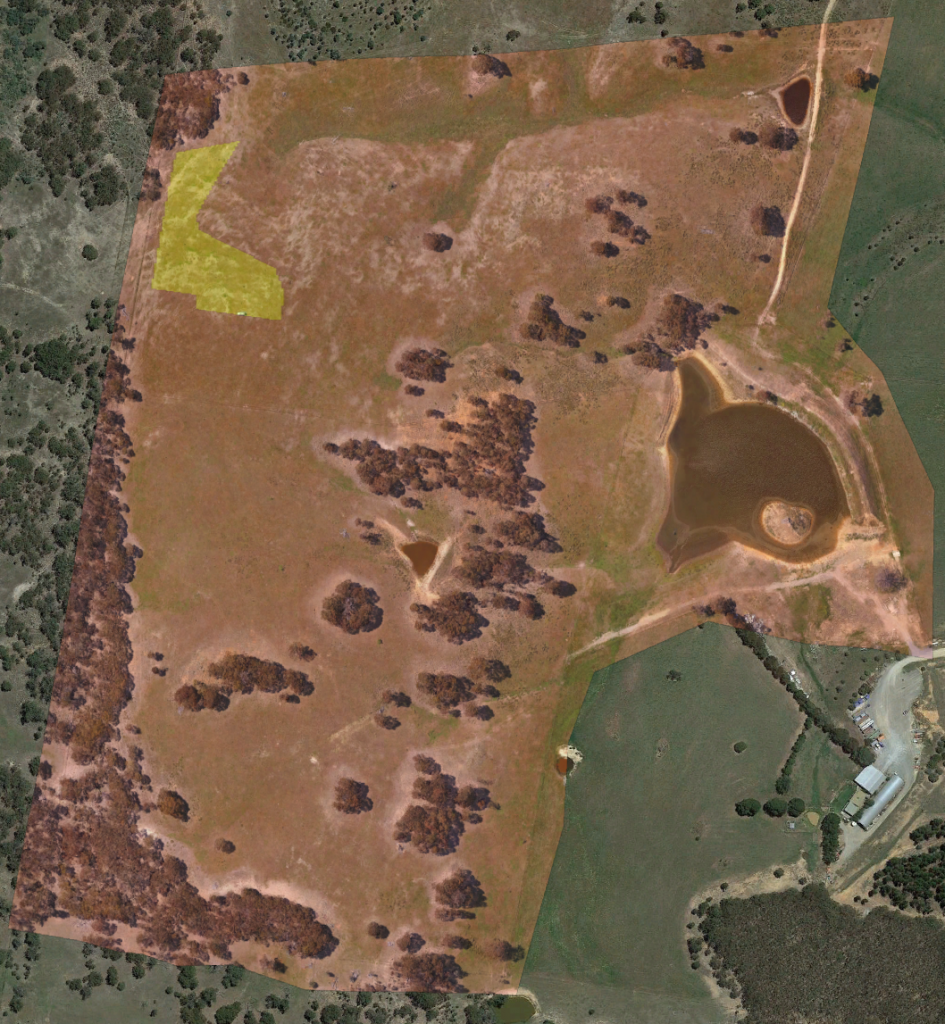
It’s been a while since we’ve published a drone fly-around at our property in Nanima, so here is a drone fly-around taken yesterday, 19th April 2019.
At this stage, earthworks are currently underway for our home build and road. The house site has been flattened, the shed dug out and leveled and the road formed and tidied up the full length to the entrance gate.
It is all looking great! After speaking with the builders a few weeks ago we expect some advancement on the actual build in the next few months, so we are hoping to be living there by Christmas!
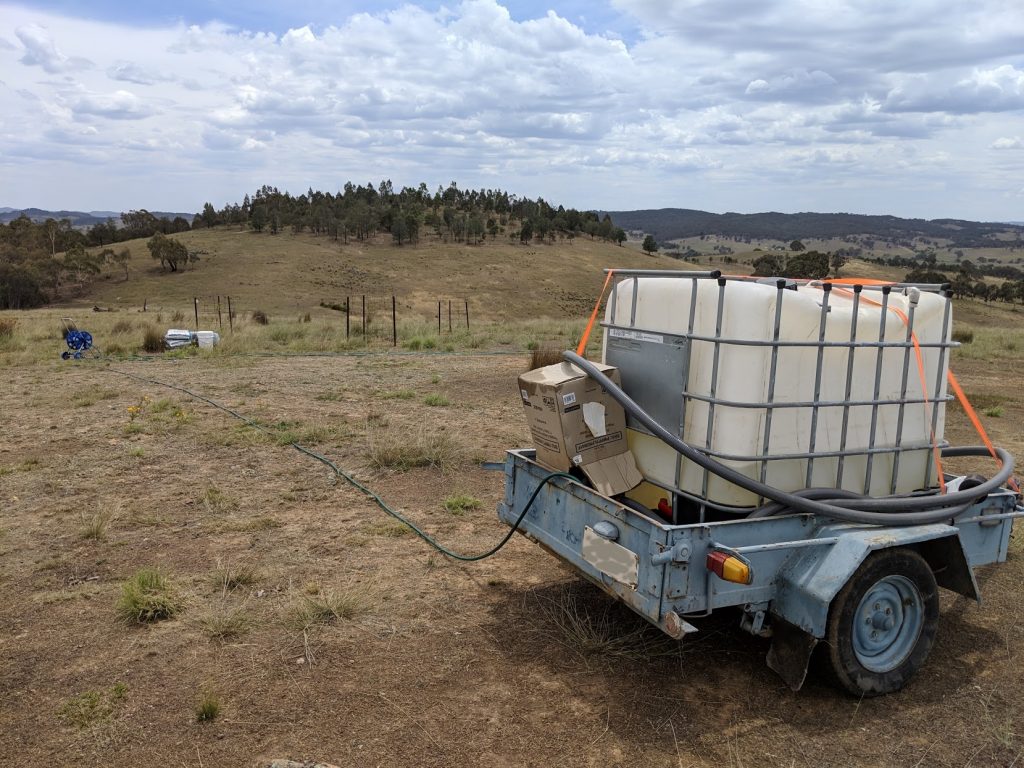
The simple water trailer that I’ve put together “on a budget”.
Background
It’s been an interesting start to summer at the farm with plenty of rain coming down at the start of December followed by a dry spell with little meaningful rain falling over the past few weeks. The last few days have almost topped 40 degrees Celsius and with the orchard trees already struggling to come back from the previous grasshopper situation, we have been ensuring that the recovering trees have plenty of water to drink.
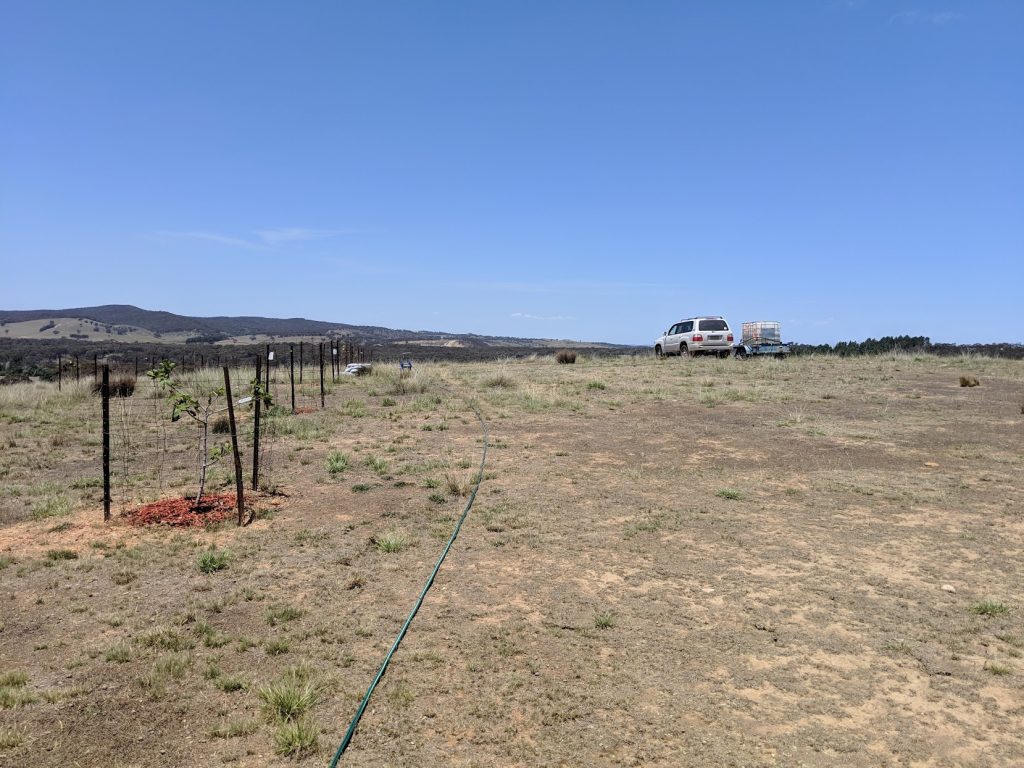
In previous months, when the temperatures weren’t as intense or when we had more regular rainfall, we had been managing the watering with a simple 25 litre water container and a bucket and spending time filling it with water from our main dam. With the 17-ish orchard trees that we are currently trying to grow on the property, we found that we could do two runs filling the containers and then transporting the water in the back of the car up to the trees in need, which was an OK task to complete but was quite time consuming and required much more driving than I was happy with.
As such, I decided to put together a simple water trailer that I could use to haul water in bulk up to the orchard where we could simply plug in some hoses and water in a more traditional manner. I also figured that having some sort of portable water system could be beneficial in the case of fire, so I am sure that once the orchard is more permanently accounted for the system will have some reuse.
Water Trailer in use.
The Build
My goal was to build this system on a budget which means that several components are used. My build consisted of:
A used trailer that I was able to pick up on Gumtree at a cost of $100. The trailer does have a few faults and was unregistered at the time of purchase, which is fine as I don’t expect to be driving it on the road at any time and had already wanted something to move some firewood around in the cooler months.
An IBC water tank that I also picked up on Gumtree at a cost of $100. This seemed to be the cheapest price for a clean IBC within the Canberra region, with this tank previously holding fish.
A 1″ High Flow Petrol Water Pump which can be used to both fill the tank from the dam, as well as pump out water from the tank as a firefighting tool. I picked up a cheap Warton pump from edisons.com.au and, to date, this has actually been performing surprisingly well. I’ve bought some other items from the site that I am not that happy with, but I can’t fault this pump yet. Cost was $205.
A 1000L IBC water tank Kingtainer adapter. Getting the right connection for the tank to the hose was actually a bigger saga than I had originally thought it would be as I had assumed that all IBC tank fittings were the same. The Kingtainer adapter which fits this tank was actually the third fitting that I ordered in.. but thankfully it does a good job for what we need. Total cost was around $45 by the time I dropped the container down to a regular hose fitting.
10m x 1.5″ 38mm ID Suction Hose For Transfer High Pressure Fire Water Pump. Another slightly smaller saga in that I had assumed that 1” hose should fit a 1” pump, which it didn’t. The second hose was $80.
Ratchet tie down straps x 2. Bought a couple from the local hardware shop for $6.
Jockey wheel. The trailer didn’t have one and I decided that once the tank is full of water it would be a pretty big pain to attempt balancing with cinder blocks or the like. Ended up costing about $35 by the time hardware was included to attach it to the trailer.
A couple of Garden Hoses. I think I paid about$20 total for the 45m of hose that I have.
Grand Total: $585
Outcome
Having used the trailer now for a couple of weeks, I can definitely say that it is a time and labour saver and a great addition to our kit. Where we were previously carting up water 30L at a time, we can now “comfortably” take up around 600L in one go, with the trailer seeming to handle this OK without getting overloaded.
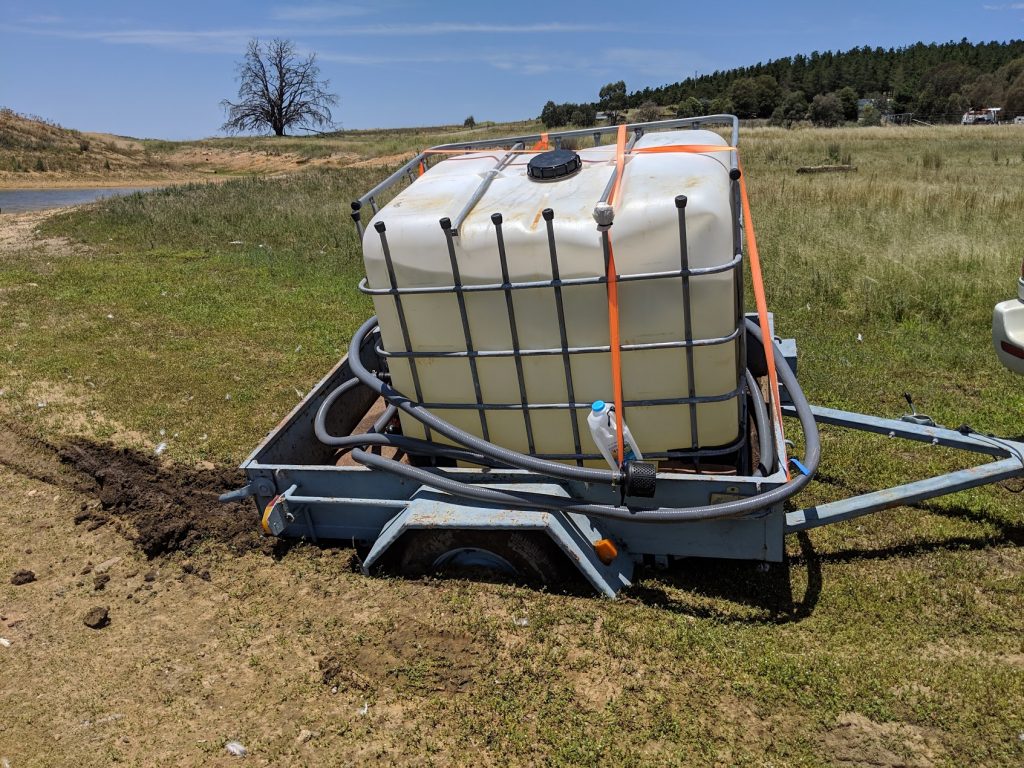
However, I did have an interesting moment a couple of days ago when I decided to refill the trailer a little too close to the dam, as shown in the below picture… Fun times!
Arrggh – sinky sand!
That’s all for this update. Merry Christmas and Happy New Year to all.
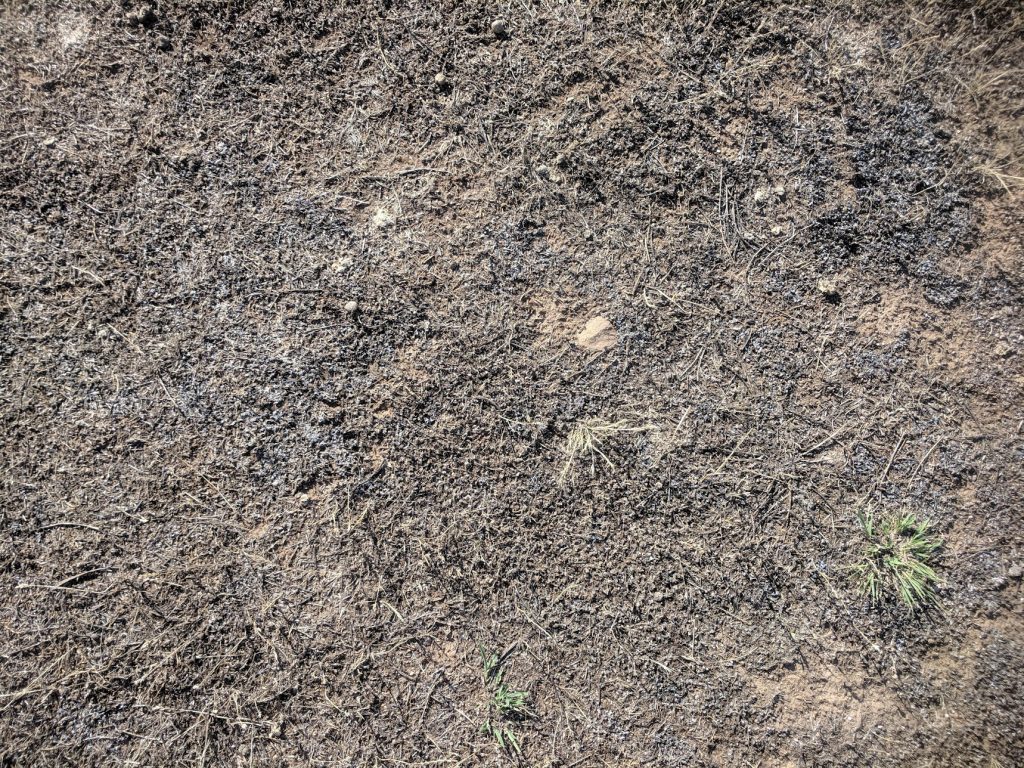
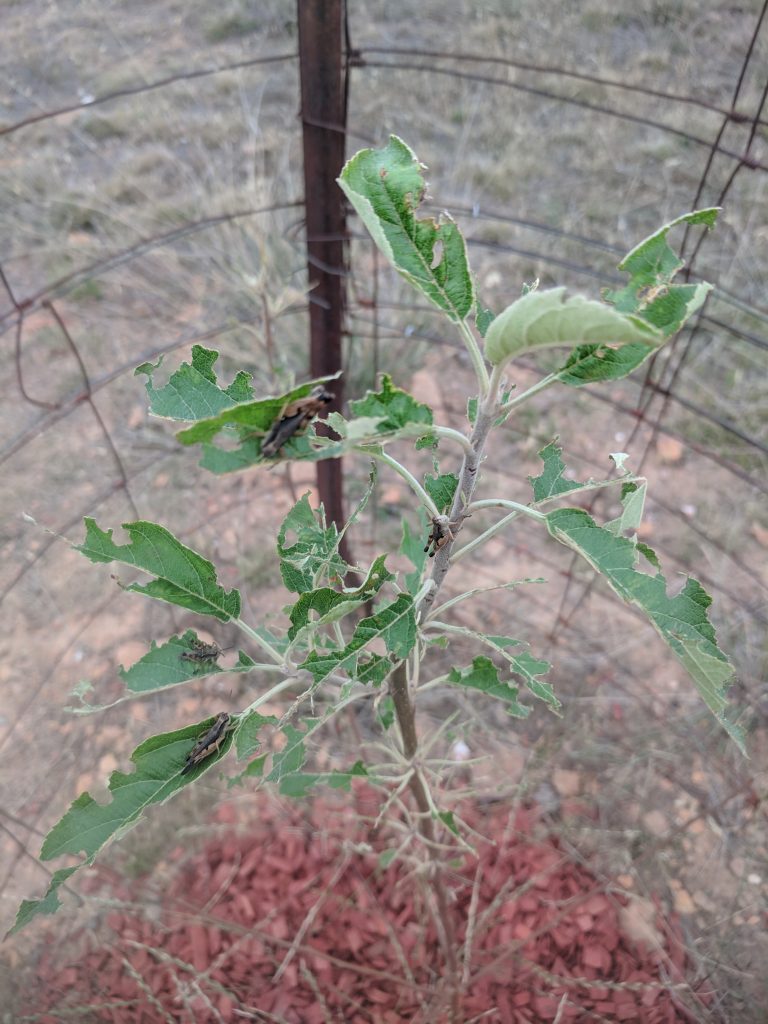
If you’ve viewed our Instagram posts, you would be familiar with the grasshopper plague that has decimated our orchards for the past few weeks. The grasshoppers themselves have devoured a large amount of the orchard leaves over the past few weeks, with the warm to hot weather and spring rainfall all playing a part in making the leaves of the trees more appetising than you’d normally expect. Our upper paddock around the orchard had turned brown quite quickly during periods of warm weather, with a week or two hovering around 30 degrees Celsius, which lead to a large amount of the ground cover grasses dying off. The soil up the top of the hill seems to have been sparse for quite a long time. We know that there is a mob of around 100 kangaroos that frequents our property and with the location of the hill both bordering natural bush land, and the property itself being a good distance from the main traffic ways, the kangaroos have had their way with it without any disturbance. Enter the grasshoppers who seem to have spawned in large numbers this year, likely due to good spring rainfall, and with little else to eat our orchard must have looked delicious!
A block of soil up near the orchard. Much of the top of our hill currently looks like this.
After spending quite a bit of time deliberating about what to do with these grasshoppers, thinking about either blocking their access to plants or utilising some sort of insecticide, I decided to spray all the trees with eco-neem. What I like about the eco-neem product is that it’s registered organic and only controls a range of chewing and sucking insects. As new apiarists ourselves, with one hive already on the property, we wanted something that would target the pest grasshoppers whilst maintaining a safe environment for our bee friends, as well as be safe for pets, birds, lizards and other beneficial insects. The eco-neem is actually an extract from the Neem tree, Azadirachta indica, and works by suppressing the insects appetite and restricting their growth. After spraying all trees 1 week ago, I am somewhat happy to report that the orchard trees don’t look worse than they did a week ago, but sadly I’m not sure that all will make it.
How many grasshoppers can you see?
But, every cloud has a silver lining, so whilst a few trees may struggle to get back on track, some lessons learnt:
Anticipate grasshopper action from early to mid November.
At the first sign of grasshopper damage, spray all trees with eco-neem.
Anticipate that grasshoppers will also love eating vegetable garden crops. Utilise row-cover on all beds that may be effected.
Plant hedge rows, or encourage long grasses to grow, around the orchard and vegetable gardens. From my research this week I’ve read that there is some thought that providing the grasshoppers with an alternate meal can deter a number of them from attacking plants that you would like to protect.
Once we are living on the property, run our chickens or other grasshopper eating birds through the orchard during the months of grasshopper activity. Free food for the chickens and free eggs for us! Yum!
So, a matter of “live and learn” I guess. Hopefully these actions will allow us to not only control the problem in the years to come, but perhaps we can benefit from it also!
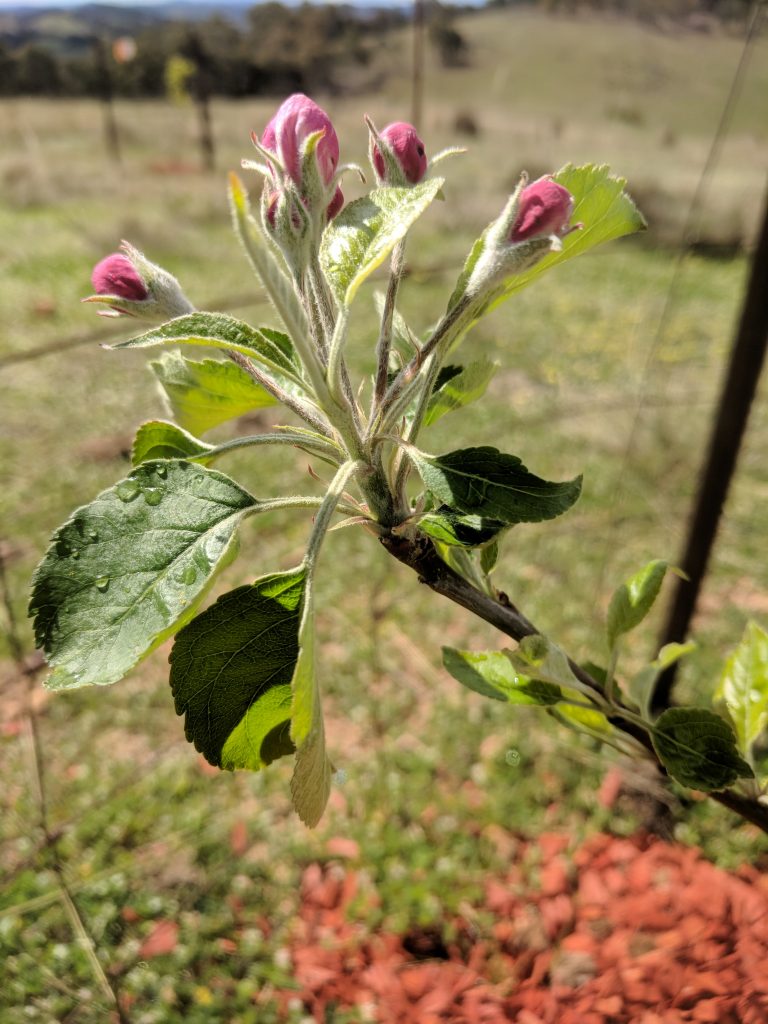
One of the ideals of Little Green Hill is to increase the supply of a wide range of food in order to increase our well-being, from a nutrition and overall health standpoint, and to also improve our self-sustainability as a whole. With that thought in mind, and with the thought of utilising cuttings to further grow more fruit tree’s around the property in the future, we decided that we would start establishing an orchard on the property this year.
After considering the placement options on the property, and considering the planning ideals for the property as indicated in my previous post, we have decided to place the orchard on the north side of the property approximately 30 meters from where we believe the house will be built. The location is a north facing slope which will make the most of the sun during our southern hemisphere winters. The placement also coincides with a large portion of the government designated “Vulnerable Regulated Land” which is categorised due to it’s steepness and susceptibility to erosion, with which the orchard will improve as the vegetation should slow the flow of water across the hill. Due to the differing natures of the trees involved, I’ve decided to place them around 7 paces apart and in a zig-zag pattern down the hill to catch as much rainfall as possible.
The designated house orchard area.
The downside of the placement of the orchard in that location is that wind could be a significant issue, particularly for tree varieties that are susceptible to wind or wind chill. We do plan to put in a wind break of trees on the western side of the property which should negate some of the prevailing winter winds. I suspect that this should not only assist with lessening the prevailing winds during the winter months for our home, but will also no doubt lessen our orchard wind troubles in the future.
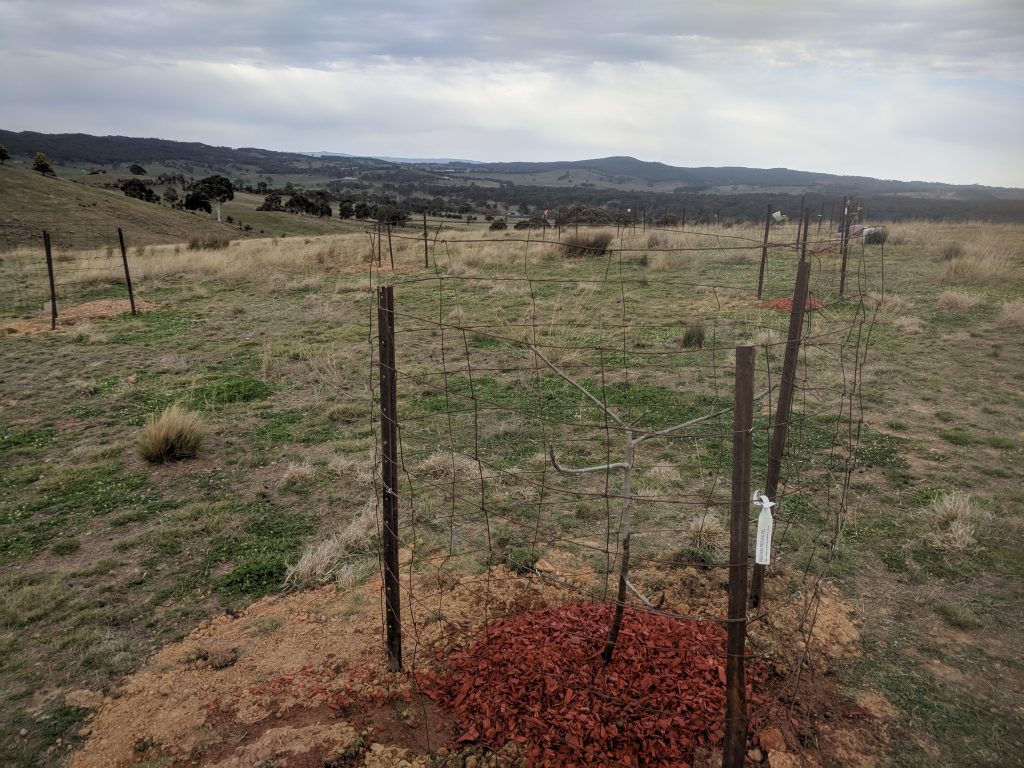
Another issue that we’ve faced in growing trees on the property is the significant impact it has faced from kangaroos. The north-western corner of the property backs a bush-land and up to 100 roos at a time can be seen crossing through the property regularly. To protect the juvenile trees, cages have been constructed for each tree which, no doubt well protect the tree, have been time consuming to create for each tree. Thankfully, our farm design incorporated the removal of a lengthy fence that previously separated the property which has been reused as cage material.
The final issue that we are currently facing is water. At this time we are carting water in 25 litre containers and buckets up the hill from the main dam and can water all trees with two or three trips, depending on need. We have plans to build up a watering cart in the coming weeks which should alleviate some of these issues, but for now we are sitting here and hoping for rain each week to lessen the task.
All trees have had their holes dug by hand and measure about 60cm in diameter and equally as deep. Each tree has been planted with a 50:50 mixture of the hole soil dug out mixed with around 20 litres of bagged compost and then covered with mulch. Digging each hole by hand is quite a workout, but I’d prefer to be spending my workout time there than in a gym any day.
At this time, we have planted approximately 15 trees within with an additional 13 ready to go in. The majority of the planted trees were shipped bare rooted during the dormant winter months from online suppliers, whilst the outstanding trees are mostly citrus and still need holes and cages to suit. Several of the citrus are labelled as just outside our winter climate zone, however I have plans to handle these utilising the protection cages and clear plastic to build mini-greenhouses for each one – more on that next year, but I have similar thoughts for managing some other trees on our property in the future, such as an avocado or two..
A view of the planted orchard, mid-winter. Fig in foreground.
Our list of planted orchard trees consists of:
Apple – Red Fuji
Apple – Redlove
Apple – Granny Smith
Apple – Pink Lady
Peach – Angel x 2
Fig – Preston Prolific
Pomegranate – Wonderful
Pomegranate – Kazake
Pear – Beurre Bosc
Pear – Nashi
Apricot – Fireball
Nectarine – Sunset
Quince – Champion
Quince – Smyrna
Chestnut x 2
Whilst the outstanding trees are:
Lemon – Eureka x2
Finger Lime – Alstonville
Lemon – Lemonade
Orange – Cara Cara
Lime – Rangpur
Tangelo – Seminole
Lime – Tahitian
Mandarin – Imperial
Grapefruit – Star Ruby
Orange – Seville
Cherry – Stella x2
So there you have it – we are definitely looking forward to seeing how all of these trees grow in our climate and we will hopefully be enjoying the fruits of our labor for years to come!
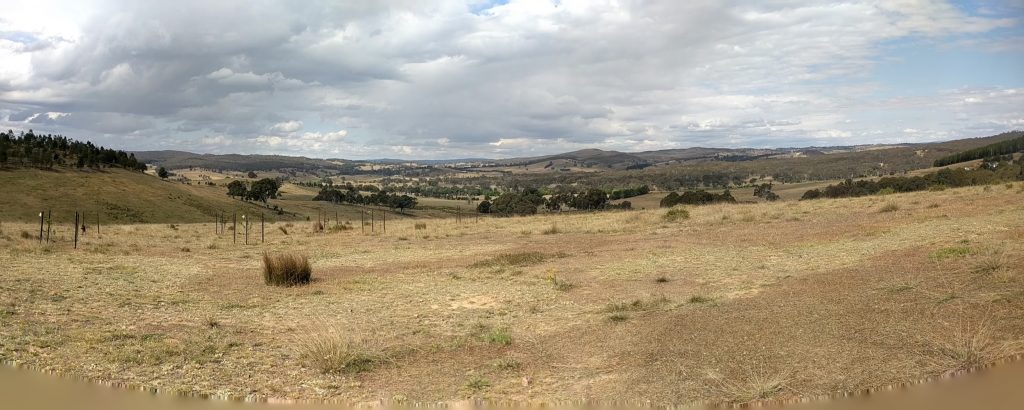
We are a small property of approximately 92 acres located within Nanima, NSW, Australia which is around 15 minutes north of Canberra.
I’ve put this website together to document the transformation of the property. My intentions are to do this in two ways:
As short-form Instagram updates which are embedded within our homepage, and
Within these Blog pages where I can delve deeper into our plans, projects and happenings.
The property itself is a mix of native bush and tree-cleared fields. Much of the property has actually been cleared excessively and, as such, has been declared as either Vulnerable Regulated Land or Sensitive Regulated Land by the NSW Office of Environment and Heritage.
Our intentions are to maintain the bush land around the property whilst incorporating many sustainable farming practices into redesigning the cleared areas. This includes building a residence onto the block itself which will be our forever-home. Our ultimate want is to regenerate the property so that it can not only recover from the issues it faces at this point in time, but also to hand a property down onto our children which they can generate an income from, if they so desire.
The modern design and management methods that we plan on utilising to achieve this includes Permaculture Design, Keyline Design and Holistic Management with an aim to be 100% Organic and using Market Gardener techniques. We are also interested in attempting to be as Self-Sustainable as possible in an Off-Grid environment. I hope to be able to share details on all facets of our design through this blog format.
Our approach will be to first and foremost to provide quality food for our family and we have a plan to build out gardens, orchards and livestock to support ourselves within the first couple of years. Beyond that, we have intentions of increasing our scale, but are unsure which enterprises we ultimately want to get into at this stage.
As of today, we have yet to break ground on our house build onsite though have already received approvals from our local council to do so, and are eagerly awaiting the opportunity to be onsite full time. However, we’ve already begun planting an orchard and moving some of our bee-hives to the property.
Below is a short drone video taken in August 2017 showing the majority of our property. We had actually intended to build our home in the southern part of the property initially which is why the first half of the video is focused around that, but we’ve now moved the residence closer to where my car is towards the end of the video.